Thursday, July 12, 2012

New Living Room Art!


Yay! I have had my eye on this project for a long time and finally got to do it! 
The beautiful thing about being a teacher is getting summers off, don't let anyone ever complain about that! Yes we still have to go to staff development and work in our rooms to get ready for the next year but you still have a beautiful amount of time to work on projects, oh yeah, and hang out with your children :)
I saw this on Pinterest, I think I actually think it's one of the first things I ever pinned, aww.
I fell in love with the look and the words, they are actually the lyrics to an Ingrid Michaelson song. (I may or may not have spelled her name wrong, sorry Ingrid)
The link to the original project is here. Me Oh My... It's a super fun blog with lots of cute stuff, I highly recommend browsing through it!

So I had this awkward spot in my living room and wasn't sure what to put there and then it came to me... a big plank of wood with something cute painted on it...
There's my plank of wood... It took forever for me to actually stain it, and of course I took pictures because it was the first thing I ever stained, and I think I did a pretty good job
I don't remember the brand but I do remember the color was ebony. It actually stayed in my living room just stained for a long time, I think it looks pretty :)
But I finally put a good movie on and plopped down in the floor and started painting the words to the fun little song.
Oh yeah and it looks awesome with my new lamps! I love my new lamps, I went to Home Goods for the first time this summer and scored them for an awesome price! 
I am thinking of doing a booth at the First Saturday show at the Chicken Farm Art Center in August, trying to make some extra money and get my 'business' started... I feel like a child with a lemonade stand when I saw my 'business', I have no 'business' I make no money, lol. One day...
Anyways, I really enjoyed making this and thought about doing some smaller ones, that could hang on a wall or sit on a table/dresser with sweet sayings, verses, something...


Tuesday, July 10, 2012

Family Pics

We were lucky enough to win a photo session with Kensie Lee Yarbrough! I absolutely love her! 
She is unbelievably talented and loves what she does. 
I had a whole board on Pinterest for family picture ideas and she had the whole thing printed off when she came to our session and totally listened to my ideas and had her own awesome ideas to incorporate. 
I cannot recommend her enough!
She also did gorgeous maternity and newborn pictures for my sister-in-law... visit her website and use her!


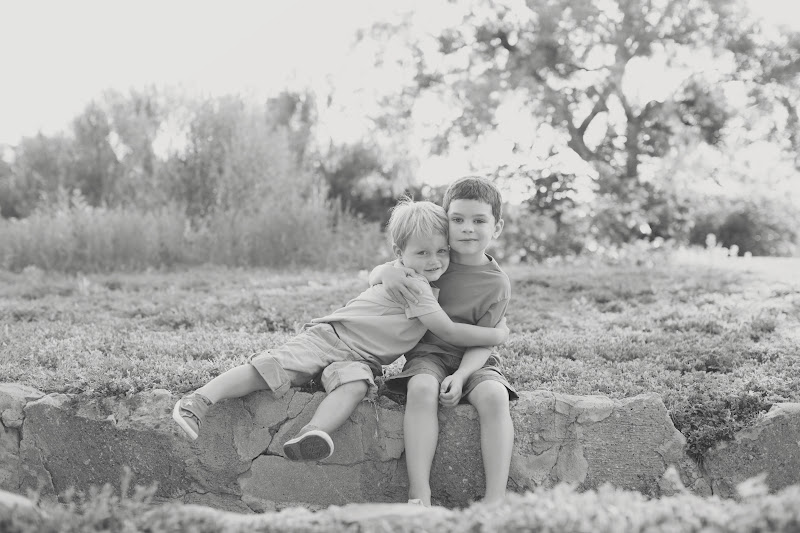
This is my absolute favorite! The boys expressions couldn't have been any better!

Saturday, July 7, 2012

Save the Toms!


I have a very obvious love for leopard print and Toms...
and I have a very sad story about my very first pair of leopard Toms that I love the most...
they began to fade, got some stains and then one day I looked down and I could see my big pink toenail sticking out :( (Ok it's not that sad of a story, but it is to me)
I was sad but retired them to the top of the closet and for Mothers Day and my birthday got two beautiful new pairs but still missed the originals. Then I remember seeing on a blog somewhere, I think it was Ashley Ann. She put a patch at the toe of her Toms, so I started experimenting.
I used some fantastic Amy Butler fabric, razor blade and a hot glue gun!
This is what I ended up with and it didn't look quite right so I went and grabbed another piece of scrap fabric and perfect...

I am totally in love with them!


Friday, July 6, 2012

Fear

First of all I need to apologize because I have no idea how to blur out this woman's name. 
I stumbled across this board on Pinterest yesterday and it broke my heart.
I just wanted to share it because it makes me sad that someone would live with such negativity and fear in their life. 
Now I realize that I have no idea what her story and situation is but further down on the board most of the comments on the amazing pictures had something to do with 'too scary'. 
I'm going to assume the best and say that she pinned these things so that she can prove herself wrong and turn it into a bucket list.

Wednesday, July 4, 2012

Re-Paint By Number


I have always thought paint by numbers were neat looking, especially when done with bright fun colors. The only problem is they are usually of little kids fishing or dogs... stuff that doesn't look great hanging in my house. I got to spend the weekend with my super awesome friend, Aubrey. Aubrey has the cutest house on the face of the earth and some stinking awesome paint by numbers, legit ones. There were a few things that she was getting rid of that I brought home with me. Two of them were some paint by number roses that I think her grandmother painted onto crushed velvet. The only problem was that the colors were very very sad.
A while back I saw a project on a blog that I follow, Ashley Ann (Jade says I stalk). She bought an old picture and repainted over it, paint-by-number-esque. Here is a link to that project.
So I took the sad colored roses and tried it myself. 
Here are the originals...
(It is completely impossible to take a picture of something in a frame with a black background without a reflection)
I grabbed some acrylic paint that I already had in some fun, bright colors and just painted over what was already there. Here's what I got...


I painted the frames, too.


I seriously couldn't get a picture without a crazy glare or reflection... I haven't decided where to put these yet, but I absolutely love them! This was seriously my favorite project, I had so much fun painting! I may go crazy and start repainting all the paint-by-numbers I can find. Hint, Hint, if anyone has any they don't want any more.
Thanks Aubrey for these treasures!


Tuesday, July 3, 2012

Best Birthday Breakfast Ever!

Hi friends! I apologize to all 5 of you who read my blog for being absent so much :) 
I will try to do better at least for the rest of the summer!
Jade made me an amazing breakfast on the morning of my very first 29th birthday!
I found the recipe for cake batter pancakes on Pinterest, of course. The original website is here.
Ingredients are...

1 1/2 cups all purpose flour
2/3 cup yellow cake mix
1 tablespoon sugar
3/4 teaspoon baking powder
pinch of salt
2 eggs
1 teaspoon vanilla extract
1-2 cups milk
assorted sprinkles

Mix it all together and you will want it to look like regular pancake batter. The blogger says to start with one cup of milk and add more as you need it. 
Now for the glaze that goes on top...

1 cup powdered sugar


1/2 tablespoon milk
1/2 teaspoon vanilla extract
assorted sprinkles


I actually needed more milk, you could also add water... just stir it until it's about the consistency of syrup.

These are absolute heaven!
And the perfect finishing touch is chocolate milk and a pink candle :)

Wednesday, May 23, 2012

Strawberry Muffins With Accidental Blueberries

Warning... this is healthy, healthier than anything I usually care to make but I'm trying :) 

I am attempting to be a healthy mom... ugh. I realize that breakfast is incredibly important but no one in my house is a morning person so I am trying to find things that I can make ahead of time that are healthy and we can just grab as we are running out the door. My goal is to find something filling so that I don't eat my body weight in goldfish crackers and fruit snacks while I'm at work.
I of course found this on Pinterest and the original website is here.

The ingredients needed are...

2 1/2 cups - old fashioned oats
1 cup - plain low fat greek yogurt (this is where the accidental blueberries came in, I bought greek yogurt with blueberries in it)
2 eggs
3/4 cup - of a sweetener of your choice (I used Splenda)
1 1/2 tsp - baking power
1/2 tsp - baking soda
1 1/2 cup - strawberries diced and dry
1 tsp - lemon juice (optional)

1. Preheat the oven to 400

2. The directions I followed said to put all the ingredients (except the strawberries) into a blender or food processor but I found it easier to mix them all in a bowl and then blend it until it's almost liquid. Mine was more like mush, I may not have blended it long enough...

3. Now put the mush back into the bowl and stir in your strawberry chunks. (Next time I might blend the strawberries in, I wasn't a fan of the slimy chunks but that's just me)
Confession... I forgot to stir the strawberries in and so I just smushed them down in the mush when they were already in the muffin pan.

4. The directions I followed also said to use foil cupcake liners instead of paper... when cooking without flour it will still to paper liners. I just sprayed my pan extra good and sprinkled a little flour into the bottom of each little section.

5. Now bake for 20-25 minutes
and...

They look very pretty! Honestly I was not crazy about them but I think it's the blueberry that doesn't do it for me. The kids love them and I'm almost positive the hubs will.

What I like about these is that you can add whatever fruit or topping you want... I'm thinking dark chocolate and coconut!